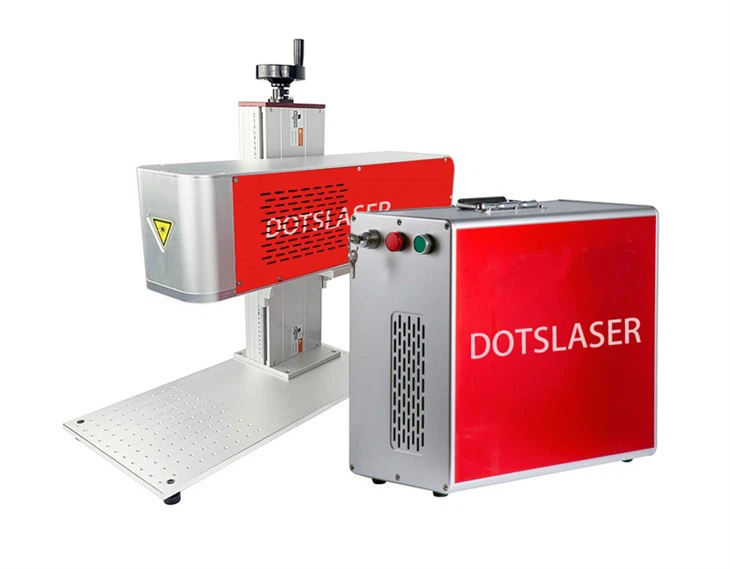
JPT fiber lasers are renowned for their high efficiency, precision, and reliability in a wide range of industrial applications. However, over time, the optical path of these lasers can accumulate dust, debris, and other contaminants, which can significantly affect their performance and reduce their lifespan. As a trusted JPT fiber laser supplier, we understand the importance of maintaining the optical path to ensure optimal laser performance. In this blog post, we will provide you with a comprehensive guide on how to clean the optical path of JPT fiber lasers effectively.
Understanding the Optical Path of JPT Fiber Lasers
Before we delve into the cleaning process, it's essential to understand the components that make up the optical path of JPT fiber lasers. The optical path typically includes the fiber optic cable, collimator, scan mirror, focusing lens, and any other optical elements within the laser system. These components are crucial for guiding and shaping the laser beam, and any contamination can disrupt the beam quality and output power.
Safety Precautions
Cleaning the optical path of a fiber laser requires strict adherence to safety protocols to prevent damage to the equipment and ensure personal safety. Here are some essential safety precautions to follow:
- Power Off: Always turn off the laser and unplug it from the power source before starting the cleaning process to avoid the risk of electric shock or laser exposure.
- Wear Protective Gear: Wear appropriate personal protective equipment (PPE), such as safety glasses, gloves, and a lab coat, to protect yourself from dust and cleaning agents.
- Follow Manufacturer's Instructions: Refer to the JPT fiber laser user manual for specific safety guidelines and cleaning instructions to ensure you are using the correct procedures and materials.
Cleaning the Fiber Optic Cable
The fiber optic cable is a critical component of the JPT fiber laser system, responsible for transmitting the laser beam from the laser source to the output end. Over time, the connectors at both ends of the fiber optic cable can accumulate dust and debris, which can cause signal loss and affect the laser's performance. Here's how to clean the fiber optic cable connectors:
Materials Needed
- Fiber Optic Cleaner: Use a specialized fiber optic cleaner or isopropyl alcohol (IPA) with a purity of at least 99%.
- Lint-Free Wipes: Choose lint-free wipes specifically designed for cleaning fiber optic connectors to prevent scratching.
- Connector Inspection Scope: A connector inspection scope can be used to check the cleanliness of the connectors before and after cleaning.
Cleaning Procedure
- Inspect the Connectors: Use the connector inspection scope to examine the connectors for any visible dirt, dust, or damage. If there are any signs of contamination, proceed with the cleaning process.
- Prepare the Cleaning Materials: Moisten a lint-free wipe with a small amount of fiber optic cleaner or IPA.
- Clean the Connectors: Gently wipe the end face of the connector in a circular motion using the moistened wipe. Avoid applying excessive pressure, as this can damage the connector.
- Inspect Again: After cleaning, use the connector inspection scope to check the cleanliness of the connectors. If there are still signs of contamination, repeat the cleaning process.
Cleaning the Collimator and Scan Mirror
The collimator and scan mirror are responsible for collimating and directing the laser beam, respectively. These components are often exposed to dust and debris, which can affect the beam quality and accuracy. Here's how to clean the collimator and scan mirror:

Materials Needed
- Compressed Air Can: Use a compressed air can to blow away loose dust and debris from the surface of the components.
- Lens Cleaning Tissues: Choose high-quality lens cleaning tissues to avoid scratching the delicate surfaces of the collimator and scan mirror.
- Lens Cleaning Solution: Use a specialized lens cleaning solution or IPA with a purity of at least 99%.
Cleaning Procedure
- Remove the Components: If possible, remove the collimator and scan mirror from the laser system according to the manufacturer's instructions.
- Blow Away Loose Dust: Use the compressed air can to blow away any loose dust and debris from the surface of the components. Hold the can at a distance of 2-3 inches from the surface and use short, quick blasts of air.
- Apply the Cleaning Solution: Moisten a lens cleaning tissue with a small amount of lens cleaning solution or IPA.
- Clean the Surface: Gently wipe the surface of the collimator and scan mirror in a circular motion using the moistened tissue. Start from the center of the component and work your way outwards. Avoid applying excessive pressure, as this can damage the surface.
- Dry the Components: Use a dry lens cleaning tissue to wipe away any remaining moisture from the surface of the components.
- Reinstall the Components: Once the components are dry, reinstall them back into the laser system according to the manufacturer's instructions.
Cleaning the Focusing Lens
The focusing lens is responsible for focusing the laser beam onto the workpiece, and any contamination on its surface can cause poor focusing and affect the engraving or marking quality. Here's how to clean the focusing lens:
Materials Needed
- Compressed Air Can: Use a compressed air can to blow away loose dust and debris from the surface of the lens.
- Lens Cleaning Tissues: Choose high-quality lens cleaning tissues to avoid scratching the delicate surface of the focusing lens.
- Lens Cleaning Solution: Use a specialized lens cleaning solution or IPA with a purity of at least 99%.
Cleaning Procedure
- Remove the Focusing Lens: If possible, remove the focusing lens from the laser system according to the manufacturer's instructions.
- Blow Away Loose Dust: Use the compressed air can to blow away any loose dust and debris from the surface of the lens. Hold the can at a distance of 2-3 inches from the surface and use short, quick blasts of air.
- Apply the Cleaning Solution: Moisten a lens cleaning tissue with a small amount of lens cleaning solution or IPA.
- Clean the Surface: Gently wipe the surface of the focusing lens in a circular motion using the moistened tissue. Start from the center of the lens and work your way outwards. Avoid applying excessive pressure, as this can damage the surface.
- Dry the Lens: Use a dry lens cleaning tissue to wipe away any remaining moisture from the surface of the lens.
- Reinstall the Lens: Once the lens is dry, reinstall it back into the laser system according to the manufacturer's instructions.
Regular Maintenance and Inspection
In addition to cleaning the optical path, regular maintenance and inspection of the JPT fiber laser system are essential to ensure its long-term performance and reliability. Here are some tips for maintaining and inspecting your laser system:
- Schedule Regular Maintenance: Establish a regular maintenance schedule to clean the optical path and perform other maintenance tasks, such as checking the cooling system, power supply, and control panel.
- Inspect the Laser Beam: Use a beam profiler or other laser beam diagnostic tools to regularly inspect the quality and characteristics of the laser beam. Any changes in the beam quality may indicate a problem with the optical path or other components of the laser system.
- Keep the Environment Clean: Keep the environment around the laser system clean and free from dust, debris, and other contaminants. Use air filters and dust collectors to minimize the amount of dust in the air.
Conclusion
Cleaning the optical path of JPT fiber lasers is a crucial maintenance task that can significantly improve the performance and lifespan of your laser system. By following the steps outlined in this blog post and adhering to the safety precautions, you can ensure that your JPT fiber laser operates at its optimal level and produces high-quality results.
If you are looking for a reliable JPT fiber laser or need more information on laser maintenance and cleaning, please feel free to contact us. We are a leading supplier of JPT fiber lasers, Fiber Laser Engraver, and 6060 Fiber Laser Marking Machine, and we are committed to providing our customers with the best products and services.
References
- JPT Fiber Laser User Manual
- Fiber Optic Cleaning Best Practices Guide
- Laser Safety Standards and Regulations