



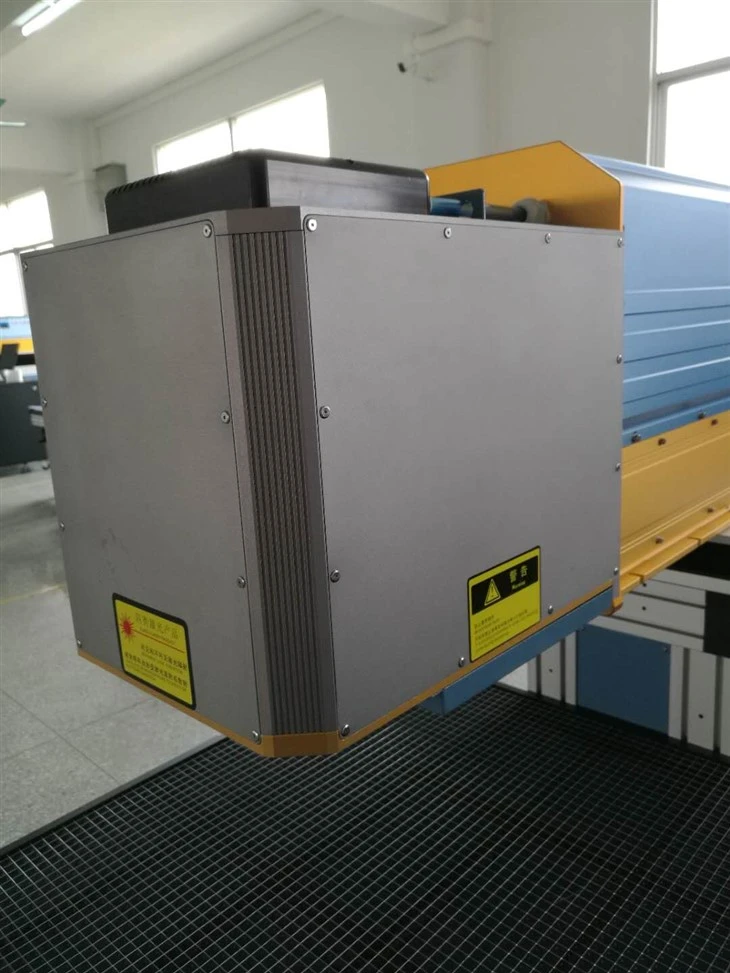
Laser Engraving On Wood Products
Laser engraving on wood products
Products Description
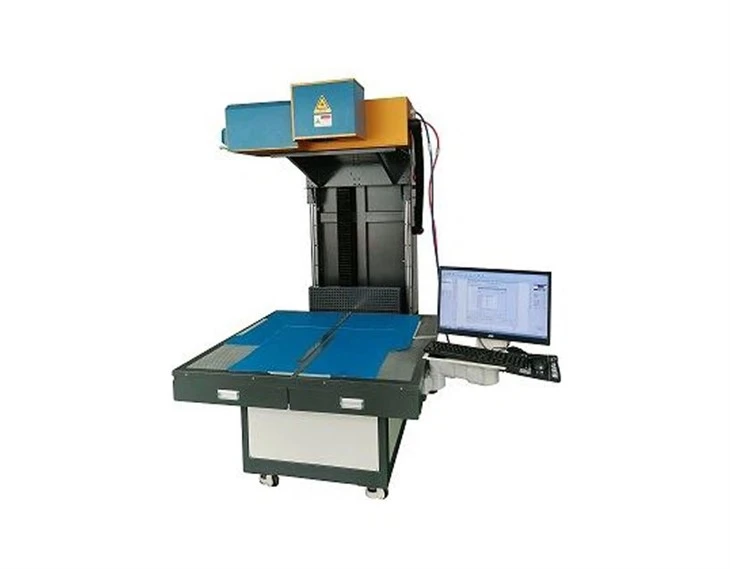
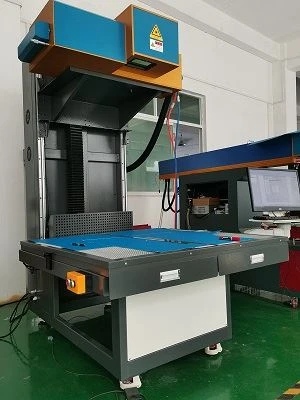
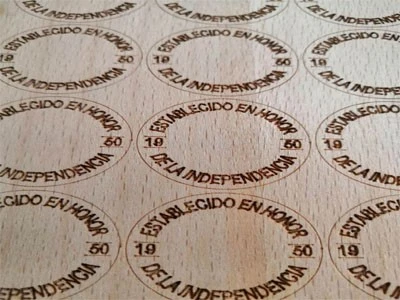
Laser engraving machines have revolutionized the manufacturing industry and made intricate designs easily engraved. The wood product industry has certainly benefited from this technology as it allows for precision and detail that was previously impossible to achieve. This has opened the doors for creativity and personalization in the production of wood products such as furniture, home decor items, and even toys. The possibilities are endless with laser engraving on wood, and we had achieved good results. The engravings are clean, sharp, and precise, creating a truly innovative and unique end-product.
Products strengths
Unique design
Our this type of machine can produce incredibly precise designs. Cpmpare with traditional woodworking methods, laser technology allows for detailed cuts and intricate designs with minimal error.
Efficiency
Laser technology makes engraving on wood products faster and more efficient. The laser can also be programmed to engrave multiple pieces with identical designs one by one, saving time and effort.
Versatile usages
This machine is suitable for engraving wide range of wood products, including furniture, decorations, and signs. They can also be adjusted to work on different types of woods, from softwoods to hardwoods.
Durability
Engraved designs produced by laser technology are highly durable and long-lasting. This is because the laser burns the design into the wood, creating a permanent bond that won't fade or wear away over time.
Customization
Laser engraving machines allow for complete customization of wood products. Designs can be created using software programs, and personalized messages or images can be added to create unique products.
Excellent after-sales service
Laser engraving machine with fast engraving speed ,our factory offers basic free services and repairs,it can save much processing time and labor cost.
Parameter
|
Parameters |
Max Output Capacity | 250W |
| Nominal Peak Powe | ≥450W | |
| Mode Quality | M2≤1.2 | |
| Duty Cycle Limit | ≤70% | |
| Laser Type | CO2 | |
| Laser Wavelength | 10.6μm | |
|
Performance |
Marking Format |
Pattern,Word,Bar code,QRcode,Date,Serial Number |
| Marking Character Types | Pattern and words of vectordiagram & bitmap | |
| Marking Area | 400X400-700X700(mmXmm) Adjustable | |
| Marking Depth | 0-5mm (According to the materials) | |
| Marking Speed | <7000mm/s | |
| Min Line Width | 0.3mm(According to the materials) | |
| Min Character | 0.4mm | |
| Repeat Positioning Accuracy | 0.01mm | |
| Machine information | Total Power | <6KW |
| Power Supply | AC220V/50Hz/30A | |
| Cooling Way | Constant temperature water cooling unit | |
| Working Temperature | 15-30℃ | |
| Working Humidity | <75 No condensation | |
| Working Environment | Without dust, without vibration | |
| Machine Packing Size | 1010*1340*1740mm | |
| Control cabinet packing size | 1060*660*1100mm | |
| Chiller packing size | 660*760*1080mm |
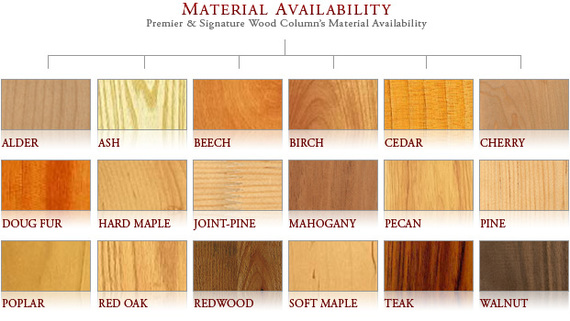
Natural Wood (unprocessed with chemicals)
Softwood/Hardwood
Birch (easy to find, readily available)
Pine (great choice for laser cutting)
Cedar (soft, straight grain, pleasant smell)
Redwood (reddish tint, resistant to moisture)
Ash (hard to find, finishes well)
Birch (readily available)
Cherry (popular for furniture)
Mahogany (works great with lasers, hard to find)
Oak (beautiful grain, easy to work with)
Walnut (works well with laser, expensive and rare)
Cork (naturally buoyant, elastic and fire resistant)
Balsa (very lightweight, inexpensive, great for laser cutting)
Bamboo (technically not wood, but widely used in cutting boards which are great for engraving but difficult to cut with good results)
Laser engraving steps on wood
1. Select the appropriate wood: Various kinds of wood possess varying densities and hardness, leading to different outcomes when laser engraving. Opt for woods with a uniform grain and absence of knots, like maple or birch, for optimal results.
2.Create your design: using a graphic design program like Adobe Illustrator or CorelDRAW, ensuring it is the proper size and format for your laser engraver.
3. Get the wood ready: Prior to engraving, ensure that the wood surface is spotless and clear of any dirt, debris, or oils that could disrupt the engraving procedure. Sanding the surface is also an option to guarantee a seamless and flawless result.
4. Fine-tune the laser settings: The laser power, speed, and focus may need to be fine-tuned based on the wood type and thickness. Lighter woods typically work best with lower power, while harder woods may benefit from higher power settings.
5. Confirm the engraving parameters: Prior to engraving the actual design, perform a trial engraving on a spare piece of wood to verify the settings are accurate and the design meets your desired outcome.
6. Opt for raster engraving technique: Utilizing raster engraving consists of engraving the pattern through a sequence of tightly packed lines, resulting in a shaded or textured appearance. This technique is ideal for crafting designs with gradients or shading.
7. Use masking tape: Using masking tape on the wood surface prior to vector cutting can prevent scorching or burning, and simplify the cleaning process of the material edges post-cutting.
8. Employ air assist: Utilizing air assist involves directing a constant flow of air over the engraving surface to maintain cleanliness and coolness throughout the engraving procedure. This serves to prevent any smoke or debris from disrupting the engraving process.
9. Polish the engraving: After the engraving is finished, gently brush or wipe away any particles or dirt from the surface. To further enhance and safeguard the engraved artwork on non-sublimatable materials, consider applying a coat of oil or wax as a finishing touch.
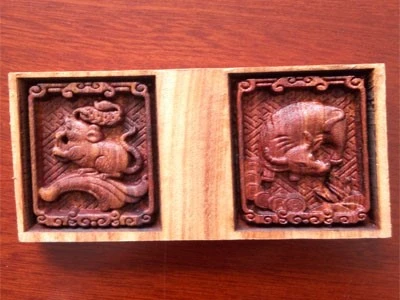
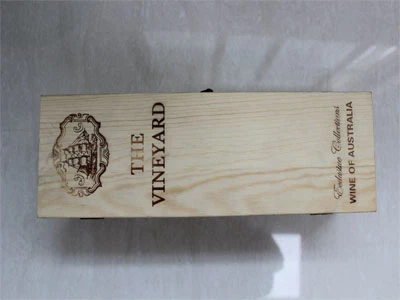
Samples Of Laser Marking Machine



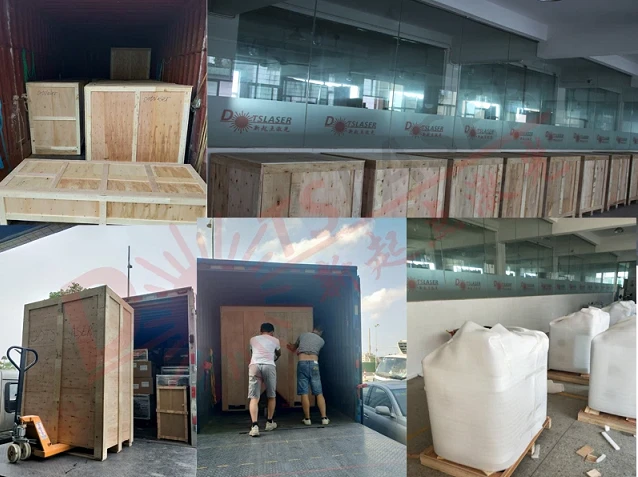
Shipping and package

1. Quality assurance and after-sales service
The warranty period of the equipment shall be 12 months since the equipment be used by the customers, the installation and debugging is completed and the equipment is accepted by the demander. Dotslaser attaches great importance to the after-sales service work of the product, once the product is delivered to the user, the company immediately established the user after-sales service file, and regularly track the user's product use status, solve and answer all the problems of the user, received the user's notification information about the equipment failure, the company's workers can make a rapid response within 2 hours. If the telephone guidance is difficult to troubleshoot, our company's technical staff can arrive at the customer site within 24 hours to provide support.
2. Installation and debugging
Before machine installation, our factory will offer you a basic structure installation file,the good need 2 weeks delivery to you there , the engineers of Dotslaser will arrive at your site and inspect the machine again. Comfirm all the conditions meet the installation and commissioning requirements of the equipment, the equipment will transport in time. The installation and commissioning time of the equipment is about five working days, the first three days are connected to the use of the system, and the system is operational after the service project. The engineer will train qualified operators on basic maintenance procedures and general operating characteristics of the equipment in the next two days
3. Service support
If there has any problem with any part of the system during the warranty period, Dotslaser well-trained service engineers are ready to provide cellphone call or begin on-site service,if the machine has any problem during the warranty period,please contact us directly !
Unpacking Caution
Every marking machine has been rigorously tested at the factory, only qualified product for shipment. When you receive the freight, please check as follows. If you have any questions, please contact the agent or staff at DOTSLASER.
● Whether there is damage or deformation during transport.
● Confirm that all of the items on the packing list are correct.
● Confirm that the model of the product matches the nameplate(Operating voltage and KVA number).
● Make sure that all clamps are tight and that there are no foreign objects in the device.
● Confirm the operation buttons, switches are normal.
You Might Also Like


Send Inquiry